
Chair Repair: Restore Comfort and Extend Furniture Life
A wobbly leg, a torn seat, or a squeaky frame does not mean the end of your favorite chair. Learn professional-grade repair techniques that save furniture from the landfill and keep your home comfortable.
Start Repairing TodayCouchFocus Repair Philosophy: Every chair has a story, and most repairs are simpler than they appear. Whether you are dealing with a loose dining chair joint, worn upholstery on an armchair, or a squeaky office chair, this guide walks you through diagnosis, tools, and proven repair methods so you can make confident, informed decisions before you buy a replacement.
Why Chair Repair Is Worth Your Time
Chairs take a beating — they carry weight, endure daily use, and face constant friction from movement. Yet most chair failures happen at predictable weak points that can be fixed with basic tools and patience. Understanding these failure patterns helps you decide whether to repair, restore, or replace.
Structural Integrity
Wooden frames loosen over time as glue dries and screws back out. Re-gluing and clamping joints restores rigidity and prevents further damage — a straightforward repair that extends chair life by years.
Upholstery Wear
Fabric tears, foam compression, and sagging seats are common. Patch kits, foam replacement, and even full reupholstery keep a quality frame in service instead of sending it to disposal.
Hardware Degradation
Bolts strip, glides wear down, and swivel mechanisms seize. Replacing standard hardware is an entry-level repair that any homeowner can complete in under an hour.
Long-Term Investment
Well-built chairs with solid wood or high-grade steel frames are a long-term investment. A modest repair effort keeps high-quality furniture functional far longer than entry-level replacements would last.
Diagnose the Problem Before You Repair
Accurate diagnosis prevents wasted effort and ensures your repair addresses the root cause, not just the symptom. Use this quick reference to identify what is failing and which repair path applies.
| Symptom | Likely Cause | Recommended Repair | Difficulty Tier |
|---|---|---|---|
| Wobbly or rocking chair | Loose joints, worn glides, or uneven legs | Re-glue joints, replace glides, level legs | Entry-level |
| Squeaking or creaking | Friction between frame members or dry joints | Apply lubricant, tighten hardware, re-glue joints | Entry-level |
| Torn or worn upholstery | Fabric abrasion, pet damage, or age | Patch, re-cover seat, or full reupholstery | Mid-range |
| Sagging seat cushion | Compressed or degraded foam | Replace foam core, add support layer | Mid-range |
| Broken armrest or leg | Structural fracture or stripped fastener | Wood glue + dowel reinforcement, or hardware replacement | Mid-range to premium |
| Swivel or recliner mechanism failure | Worn bearings, bent plates, or broken springs | Replace mechanism assembly or individual components | Premium / professional-grade |
Essential Tools for Chair Repair
Having the right tools on hand makes the difference between a frustrating repair and a satisfying one. Build your kit gradually — most basic repairs require only a handful of items.
- Screwdriver Set (Phillips & Flathead) For tightening and replacing hardware on metal and wood chairs. A ratcheting driver speeds up repetitive work.
- Wood Glue & Clamps The foundation of wooden joint repair. Use a high-grade wood glue and bar clamps or spring clamps to hold joints tight during curing.
- Staple Gun & Upholstery Staples Required for re-covering seats, attaching fabric, and securing batting. A manual or pneumatic staple gun both work for home repairs.
- Sandpaper & Wood Filler For smoothing repaired areas, blending joints, and preparing surfaces for finishing.
- Replacement Hardware Kit Keep assorted bolts, nuts, washers, and glides on hand. Standard sizes cover most chairs and avoid repeated hardware store trips.
- Mallet & Wood Dowels For seating joints, reinforcing fractures, and disassembling stubborn connections without damaging the frame.
Step-by-Step Chair Repair Guide
Follow this sequence for most common chair repairs. Each step builds on the previous one, so work methodically and test the chair after every major adjustment.
- Inspect and Document the Damage Turn the chair upside down and examine all joints, fasteners, and frame members. Take photos before disassembly so you can reference the original assembly. Check for cracks, stripped screws, and loose connections. This step prevents surprises mid-repair.
- Tighten All Visible Fasteners Use the correct screwdriver size to tighten every screw and bolt. Do not over-tighten, as this can strip threads in wood or metal. If a screw spins freely, the hole is stripped — move to the next step.
- Repair Loose Wooden Joints Gently separate the loose joint if possible. Clean old glue residue with sandpaper. Apply wood glue to both mating surfaces, press together, and clamp firmly. Wipe excess glue immediately and let cure for at least 24 hours.
- Fix Stripped Screw Holes Remove the screw, fill the hole with wood glue and a wooden matchstick or dowel plug. Let dry, then re-drill a pilot hole and reinsert the screw. For metal chairs, use a slightly larger self-tapping screw or a threaded insert.
- Address Upholstery Damage For small tears, use an upholstery patch kit or fabric glue. For worn seats, remove the old fabric, replace degraded foam, and staple new fabric in place starting from the center and working outward. Pull fabric taut to avoid wrinkles.
- Replace Worn Glides and Hardware Remove old glides with pliers and tap in new ones with a mallet. Replace any bent or corroded bolts. Apply a small amount of lubricant to swivel mechanisms and recliner tracks for smooth operation.
- Test and Refine Reassemble the chair and test all functions — sit, rock, swivel, and recline. Check for remaining wobbles or squeaks. Tighten or adjust as needed before returning the chair to service.
Preventive Maintenance That Extends Chair Life
Pro Tip: A five-minute maintenance routine every few months prevents most major chair repairs. Tighten hardware, check glides, and clean upholstery regularly to catch small issues before they become structural failures.
Monthly Checks
Inspect and tighten all visible screws. Check for wobbles and address them immediately. Wipe down frames to remove dust that can accelerate wear at joints.
Seasonal Deep Clean
Vacuum upholstery and crevices. For fabric chairs, spot-clean stains promptly. For wood chairs, apply a light furniture polish to maintain moisture balance and prevent cracking.
Humidity Control
Wooden chairs expand and contract with humidity changes. Keep indoor humidity stable to prevent joint loosening and wood cracking over time.
Proper Use
Avoid standing on chairs or using them as step stools. Distribute weight evenly and use felt pads under legs to prevent floor damage and reduce joint stress.
When Repair Is Not the Right Choice
Honest assessment matters. Some chairs reach a point where repair effort exceeds the value of the result. Consider replacement when:
- Multiple Structural Failures If the frame is cracked in several places, or if multiple joints have failed simultaneously, the chair may not be safe to use even after repair.
- Mold or Pest Damage Wood that has sustained extensive mold or termite damage loses structural integrity. Repair is not reliable in these cases.
- Frame Material Degradation Particleboard and low-density composite frames often cannot be repaired reliably once they begin to crumble. Solid wood and metal frames are far more repairable.
- Safety-Critical Components Recliner mechanisms and swivel bases under heavy loads should be repaired only with manufacturer-specified parts. If parts are unavailable, replacement is safer.
If you are unsure whether a chair is worth repairing, consider the frame material, the extent of damage, and the cost of professional service versus replacement. For high-quality frames, professional reupholstery is often a worthwhile investment. For everyday chairs with composite frames, replacement is usually the more practical path.
Frequently Asked Questions About Chair Repair
How do I fix a wobbly chair?
Start by tightening all visible screws and bolts. If the wobble persists, the joints may have dried out. Apply wood glue to the joints, clamp firmly, and let cure for 24 hours. For metal chairs, check for bent legs and replace worn hardware.
Can I repair chair upholstery myself?
Yes, minor upholstery repairs like tears and worn patches can be handled with fabric patches, upholstery glue, or a staple gun. For full reupholstery, assess whether the frame is solid enough to warrant the investment, or consider professional help for complex patterns.
How do I know if a chair is worth repairing?
Evaluate the frame integrity, sentimental value, and materials. Solid wood or high-grade steel frames are typically worth repairing. If the frame is cracked beyond repair or the chair has structural damage across multiple points, replacement may be more practical.
What tools do I need for basic chair repair?
A basic chair repair kit includes a screwdriver set, wood glue, clamps, a staple gun, upholstery fabric, sandpaper, and a mallet. For advanced repairs, add a drill, replacement hardware, and fabric scissors.
Is it better to repair or reupholster a chair?
Repair addresses structural issues like loose joints and broken hardware. Reupholstery addresses worn fabric and degraded foam. For quality frames, combining both restores the chair to full function. For lower-tier frames, evaluate whether the combined effort is justified compared with replacement.
Ready to Restore Your Chair?
Browse our recommended repair tools and replacement parts to get started. From wood glue and clamps to upholstery staples and foam, having the right supplies makes every repair smoother.
Explore Repair EssentialsRelated Furniture Care Guides
Chair repair is part of a broader furniture maintenance routine. Explore these related guides to keep every piece in your home in top condition:
- Learn how to restore tired seating with our complete reupholstery guide.
- Discover options for replacing worn seating surfaces in our cushion replacement guide.
- Keep your upholstery fresh with professional-grade cleaning services guidance.
- Protect your seating from pets with our scratch-resistant sofa strategies.
- Extend the life of your outdoor furniture with outdoor chair canvas replacement.
- Need help choosing between repair and replacement? Contact our team for guidance.
Recommended Chair Repair Tools & Kits
⚠️ AFFILIATE DISCLOSURE: This website contains affiliate links. As an affiliate Associate, we earn from qualifying purchases. If you make a purchase through these links, we may receive a small commission at no additional cost to you. Read our full affiliate policy.
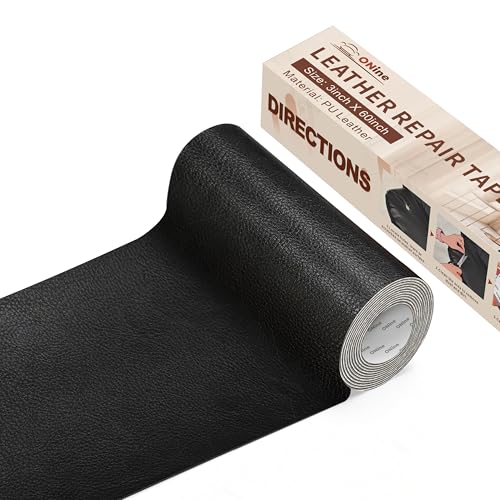
ONine Leather Repair Tape,Self Adhesive Leather Repair Patch,Leather Patches for Furniture,Sofa,Car Seats,Office Chair. Vinyl Repair Kit 3x60in (Black)
Check price on Amazon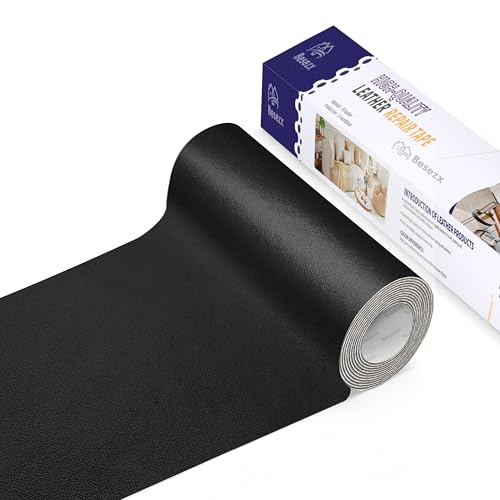
Besezx Leather Repair Patch Tape Kit,Vinyl Repair Kit,Self Adhesive Leather Repair for Furniture, Couch, Sofa, Car Seats,Office Chair.3.1inx60in-Black
Check price on Amazon
Wonderlokking Tite Chairs, Adhesive for Chair Joint and Furniture Repair by PC-Products, 5 gram 208120
Check price on Amazon
Leather Repair Patch Tape Kit, Self Adhesive Leather Repair for Furniture, Couch, Sofa, Car Seats,Office Chair,Vinyl Repair Kit.30inx16in
Check price on Amazon
Fadoub Leather Repair Patch, Self Adhesive Leather Repair Tape Kit Black | 3x60In Vinyl Repair Kit for Furniture, Couch, Sofa, Office, Car Seats, Car Interior (Black-Fine Grain)
Check price on Amazon
Salbree Office Chair Hero Clamp Sinking Fix for Gas Cylinder Piston | Attaches around the cylinder to stop your seat from dropping. Compatible with large hydraulic lift pistons. No tools needed.
Check price on Amazon
Besezx Leather Repair Patch Tape Kit, Self Adhesive Leather Repair for Furniture, Couch, Sofa, Car Seats,Office Chair,Vinyl Repair Kit.30inx16in
Check price on Amazon